How to make frequently purchased products easier to find in the convenience store dairy area layout
Place frequently purchased items in positions that customers can easily identify, and clearly define the boundaries between combined packages and individual items. The dairy area needs to be easy for daily repeated purchases; Too many promotional signs may make it difficult for those familiar with the products to find them; the focus of display should be on stable identification and convenient replenishment.
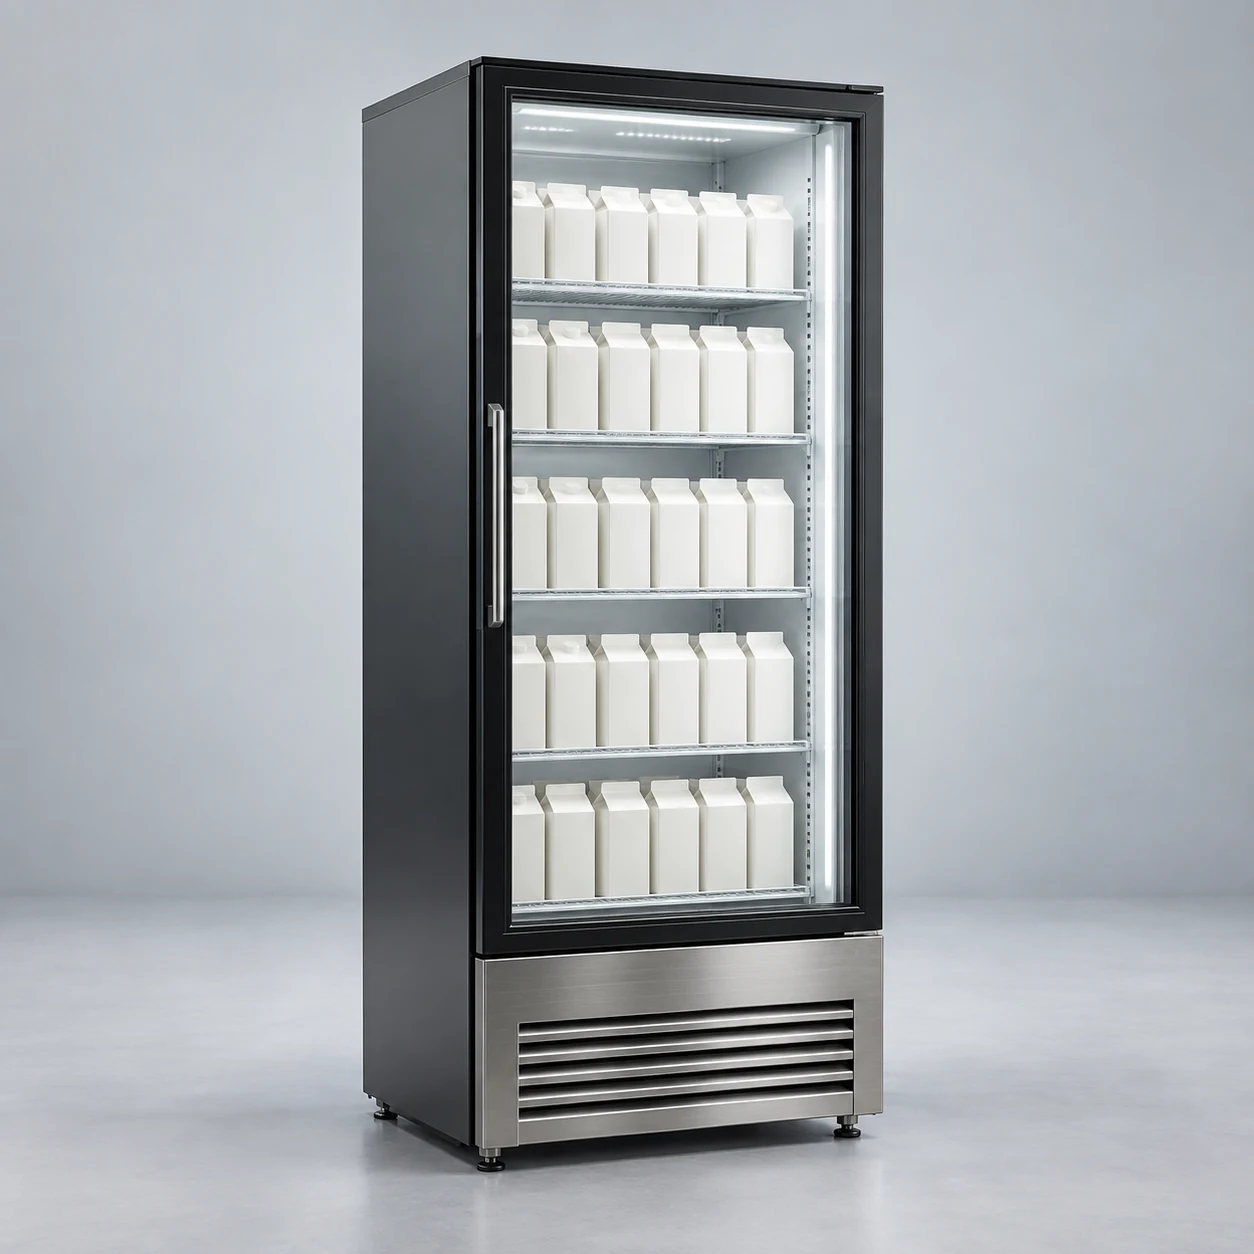
Start drawing by depicting the movement of people and items
The convenience store aims to make the dairy area easily identifiable, and the location of the milk cabinets affects both viewing, operation, and turnover. When discussing the layout, if only a rectangle is placed on the floor plan, it’s easy to miss the movement ranges of doors, personnel, and containers. Place frequently purchased items in positions that customers can easily identify, and clearly define the boundaries between combined packages and individual items. Test the height of the shelf and the position of the label together to avoid flipping adjacent rows of products when customers pick up items. The issue is not just ensuring the equipment fits properly, but ensuring it works well with surrounding processes during actual operation.
When drawing the first draft sketch, you can use lines to represent the movement of customers, staff, and items separately. This involves bottled and boxed dairy products of different capacities, combined packs, and price signs, whose entry and exit methods and resting positions are not entirely the same. Separate the regular paths from occasional paths, with special attention to actions that occur simultaneously during peak times; Positions that seem non-conflicting in normal use may need rearrangement when used by two people.
Distinguish between the equipment boundary and the operable boundary
The equipment diagram indicates a fixed footprint, but the actual layout must also accommodate handling, opening, organizing, and necessary service areas. Determine the display method based on packaging height, number of items per row, and product management requirements, and check the storage instructions for each dairy product. Do not manage them under the same conditions just because of similar names, and do not use the appearance of the cabinet to confirm its purpose. After including these compatibility conditions in the drawings, it is necessary to indicate which dimensions come from the equipment documentation, which are measured on-site, and which still need confirmation. Using different colors to distinguish sources can reduce discrepancies between the design drawings and on-site understanding.
The fixed positions on the layout diagram must be tested when items change. Taking milk coolers as an example, if high-bottle and combined packs are added to the dairy items, the original shelf arrangement may not be compatible. It is necessary to distinguish the actual space used by single-piece packs, grouped packaging, and display labels, so that the arrangement inside the cabinet matches the restocking order. When transforming this scenario into observable steps, first establish the identities of items and personnel, then outline the points of interaction. After testing the arrangements, record where pauses are necessary, where accessibility must be maintained, and whether adjustments affect the next task. Confirm the device’s appearance, store decoration, and operating space on the same drawing, so on-site personnel can execute tasks consistently.
Make a justified choice between display and operation.
The dairy area needs to be easy for daily repeated purchases; Too many promotional signs may make it difficult for those familiar with the products to find them; the focus of display should be on stable identification and convenient replenishment. Prepare two distinct placement schemes: one prioritizing the main viewing area, and another prioritizing minimizing repeated handling. Have users walk through each step individually, then record whether pauses, turns, or detours are required at each step. Comparisons should focus on actions, not just voting for the most attractive image.
When simulating peak usage, include adjacent processes together in the image. Take a milk cooler as an example. Suppose the dairy product that customers are accustomed to finding is blocked by promotional signs, while staff believe that more labels mean richer information. The correspondence between the name, packaging, and labels should be verified from the customers' normal positions to avoid visual information overlapping each other. When transforming this scenario into observable steps, first establish the identities of items and personnel, then outline the points of interaction. After testing the arrangements, record where pauses are necessary, where accessibility must be maintained, and whether adjustments affect the next task. Confirm the device’s appearance, store decoration, and operating space on the same drawing, so on-site personnel can execute tasks consistently.
Inspect the drawings during the business operation process, rather than only focusing on the opening status
Use the location map to verify product names, packaging changes, and restocking sequences, paying attention to whether the back row is constantly obscured by the front row. Batch and date management are carried out according to store rules, and equipment inspections and product verification are recorded separately. These records can help verify the layout in reverse: which areas often need to be temporarily cleared, which items have no fixed place, and which routes are occupied by restocking activities. For recurring issues, investigate whether it's due to poor positioning, insufficient labeling, or unclear responsibilities, and avoid attributing all problems to the equipment size.
Whether a layout can be used long-term also depends on how subsequent changes are managed. Take a milk cooler as an example. Suppose during late shifts, products from different batches are placed in temporary empty spaces, making it difficult for staff to determine the original positions the next day. The location map and store product management rules should be handed over together, along with a separate explanation of the reasons for temporary adjustments. When transforming this scenario into observable steps, first establish the identities of items and personnel, then outline the points of interaction. After testing the arrangements, record where pauses are necessary, where accessibility must be maintained, and whether adjustments affect the next task. Confirm the device’s appearance, store decoration, and operating space on the same drawing, so on-site personnel can execute tasks consistently.
Turn the arrangements tested in practice into a consensus on site
Check the shelves, barriers, price tags, and door configuration to confirm which accessories are compatible with existing dairy packaging. The dimensions of seasonal combinations are also included in the list before procurement to reduce subsequent temporary adjustments. After the layout is finalized, assign numbers to the equipment and adjacent workstations, note the confirmation date, and ensure all relevant personnel use the same version of the drawings. When dimensions or configurations change, make corresponding modifications. Old diagrams should be clearly marked to prevent ongoing construction or receiving at expired positions on site.
BAONIER recommends providing floor plans, on-site photos, and representative container sizes together during product communication. For the milk cabinets, a practical layout guide should address where the items originate, who uses them, where they go after use, and which areas must remain accessible. By translating these questions into specific actions, the equipment becomes a stable working position within the business process, rather than a source of constant detours and temporary adjustments.